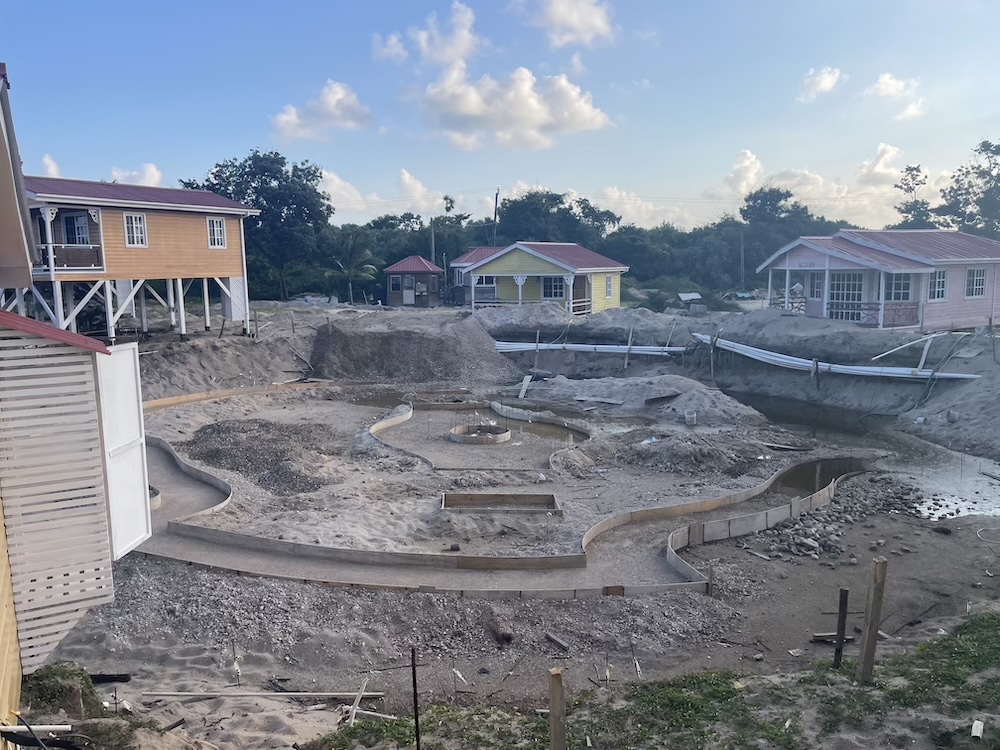
On December 16, 2025, we welcomed our very first guests to Cabana Village. It was an exiciting and emotional day! Ryan and I and the team had been working on creating Cabana Village for 3 years. The first 2 years of development felt slow – renovating the cabanas, building supporting structures ( pool equipment room, housekeeping and maintenance building), and of course, laying the groundwork for the pool. Then came 2025. It felt like, as soon as we declared an opening date, we were scrambling to finish.
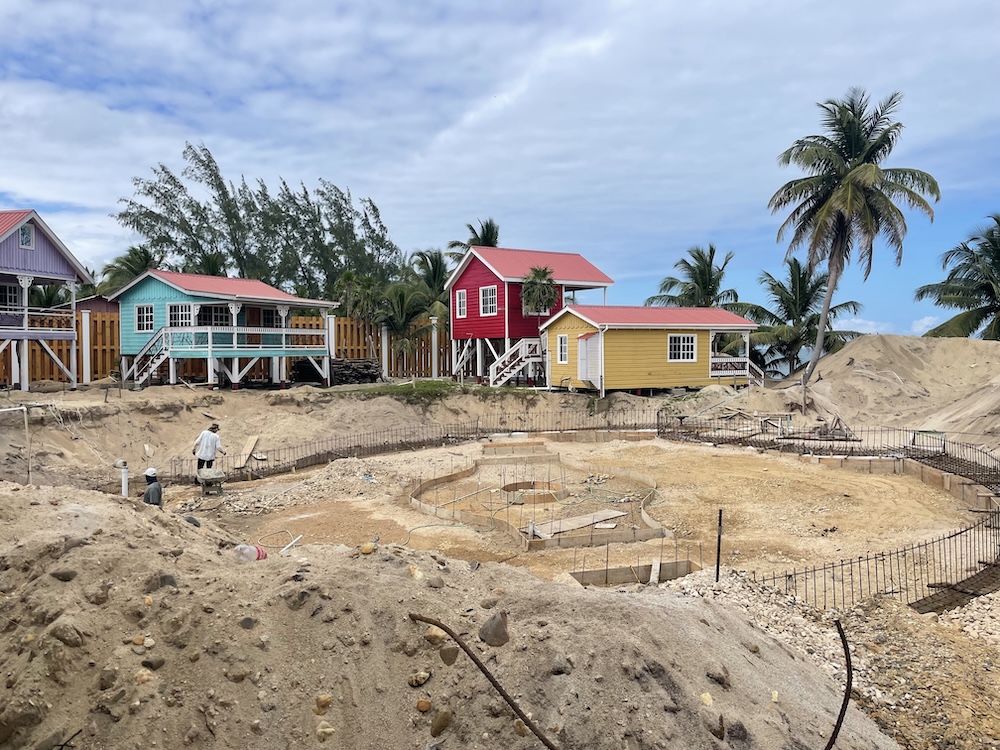
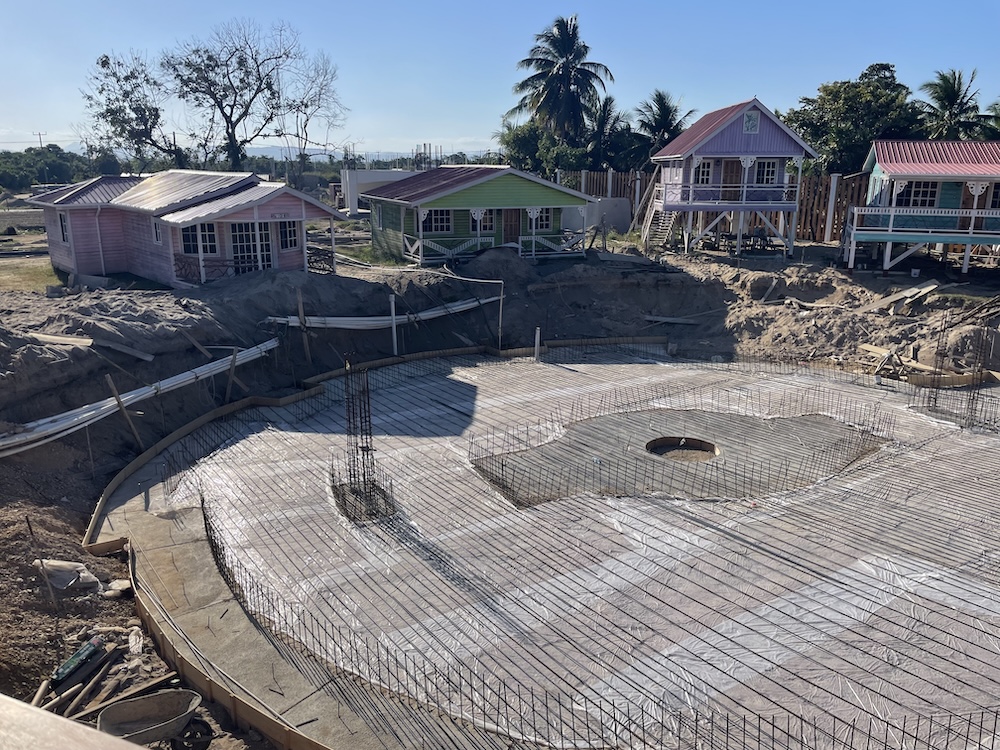
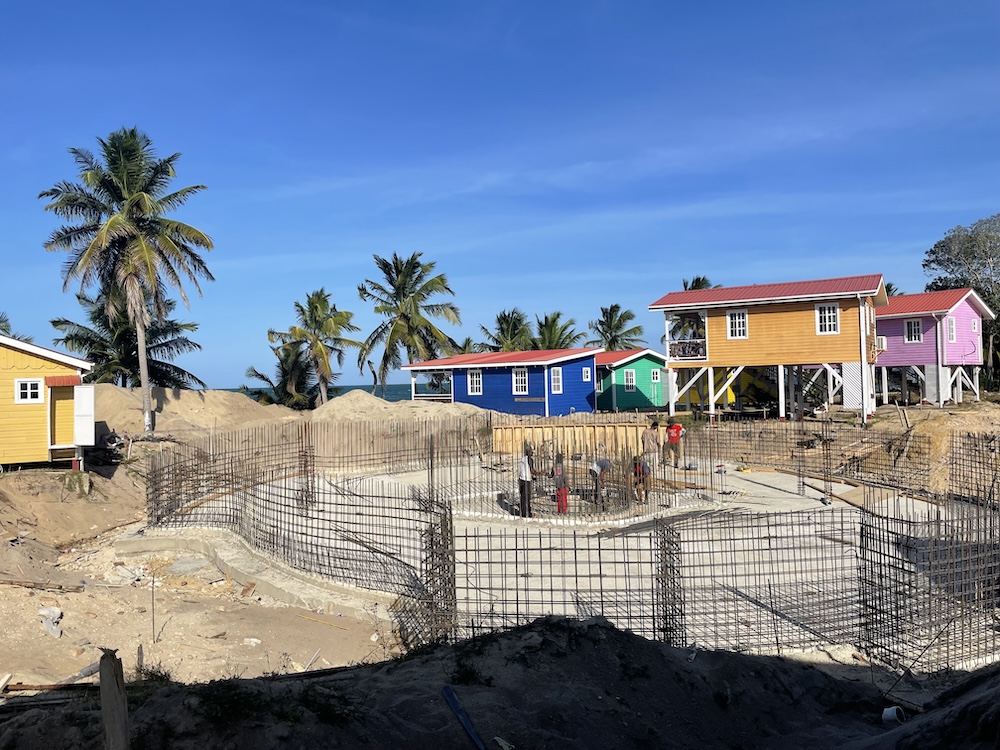
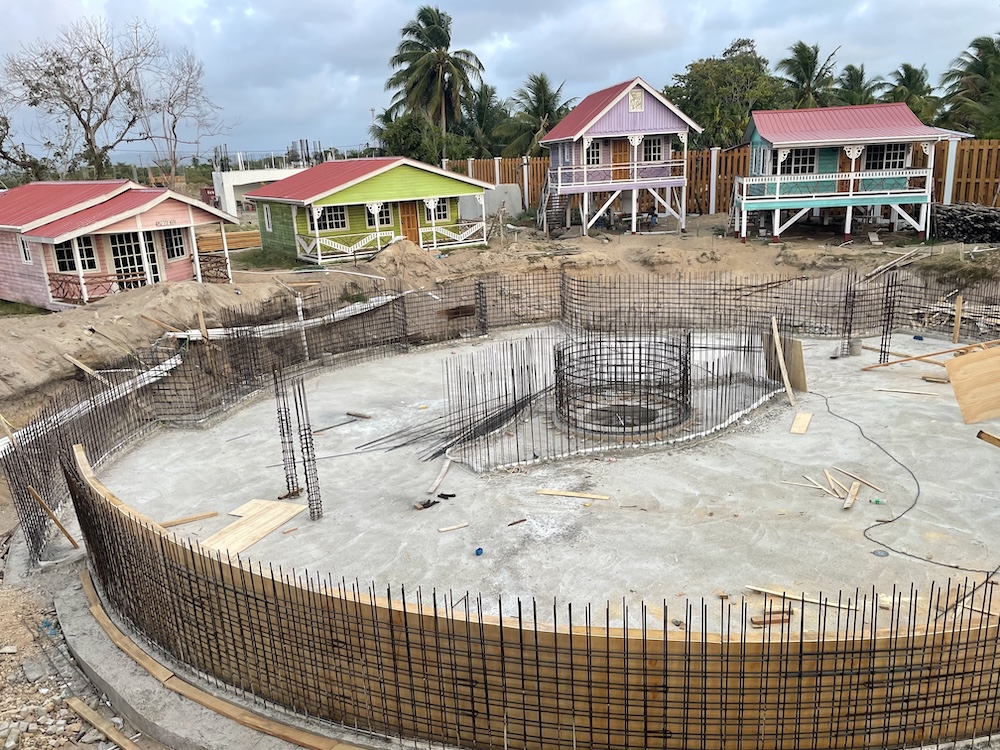
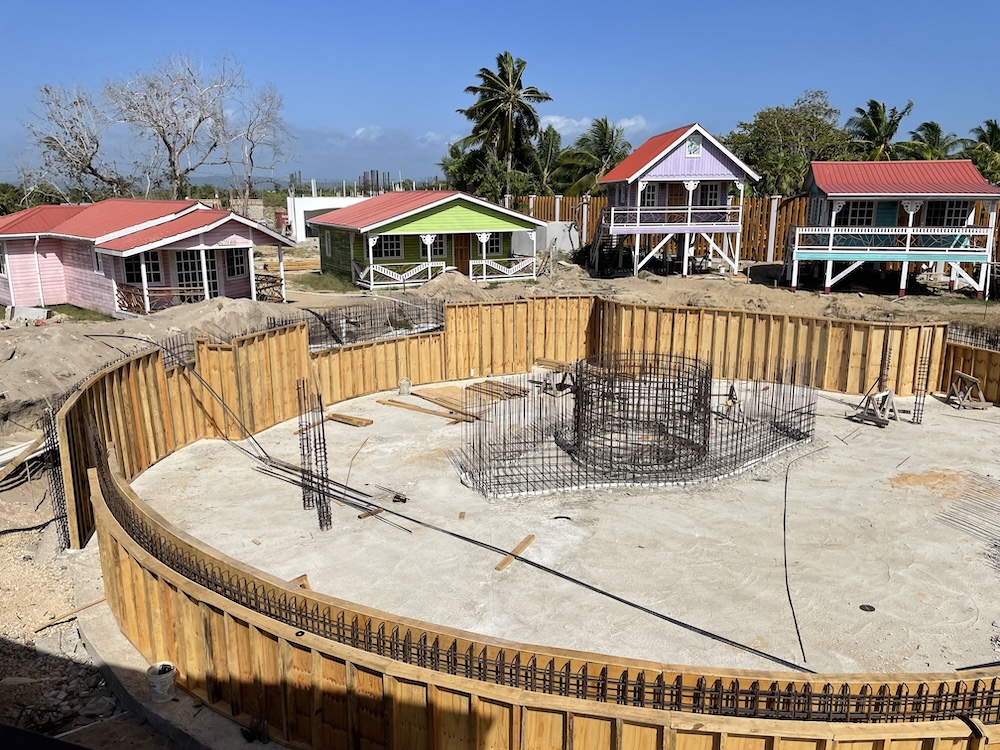
The pool took longer to finish than expected. Because it took so long to start! We had a very rainy January 2025 which delayed the pouring of the foundation. We were repeatedly vacuming water out of the bottom of our pool hole, only to be met with more rainwater the next day. Finally we started the pool in February, and it was so fun to watch. The shape of the pool is not a standard rectangle, nor does it have any right corners, so the concrete needed to be poured into a form.
Prepare for the Cement Pour
If you have ever seen anything built in Belize, you are familiar with bush sticks. These are strong wooden poles cut from the bush, used as scaffolding and support while concrete is being poured and while drying. Look at the bushsticks in these photos pushing on the wall form from both sides!
Finishing Touches for the Pool
During the next couple months, the team tiled the pool, built the internals of the pool (pool lights, pool pumps, etc) and built the decking around the pool. We ran into a slight shortage of pool tile which was mined and created in Belize. So we pivoted and created a few mosaics from the same tile. Pro-tip: you can use smaller pieces to make the mosaic when you run out of big squares. This solution turned out to be even more beautiful than the first design.
The Big Day - Filling the Pool with Water
On November 2nd, Ryan and I got up early so we could be at Cabana Village to watch the first drops of water go into the pool. The water was brought by truck (lots and lots of trips) to fill the pool.
It took more than 2 days to fill the pool and then several more days to clean the water and balance the chemicals. This glamour shot below is how the pool looked after 1 day of water filling.
I didn’t swim in the pool until a week before we opened. Of course, it took longer than expected to get the balance of the pool just right. With a pool this size, our maintenance crew needed a full day of training from our local pool supply company. Now, everytime I walk by the pool, I feel the pull of the water. It’s quite inviting!
To book a stay with us at Cabana Village or Beaches and Dreams (and swim in this pool), tell us about your ideal vacation here and we’ll get back to you with a custom vacation package.